In the era of smartphones, where iPhones reign supreme for many users, maintaining the pristine condition of these devices is not just about aesthetics but also about performance. Among the features we’ve grown to rely heavily on, the iPhone’s audio output system, particularly its external speaker and headphones, plays a crucial role in our daily consumption of media. However, with continuous usage, these auditory outlets become havens for dust, dirt, and debris, leading to diminished sound quality and, potentially, long-term damage. In this comprehensive guide, we will navigate the intricate process of cleaning iPhone headphones and speakers, ensuring your device remains in optimal auditory condition.
Required Tools and Preparations
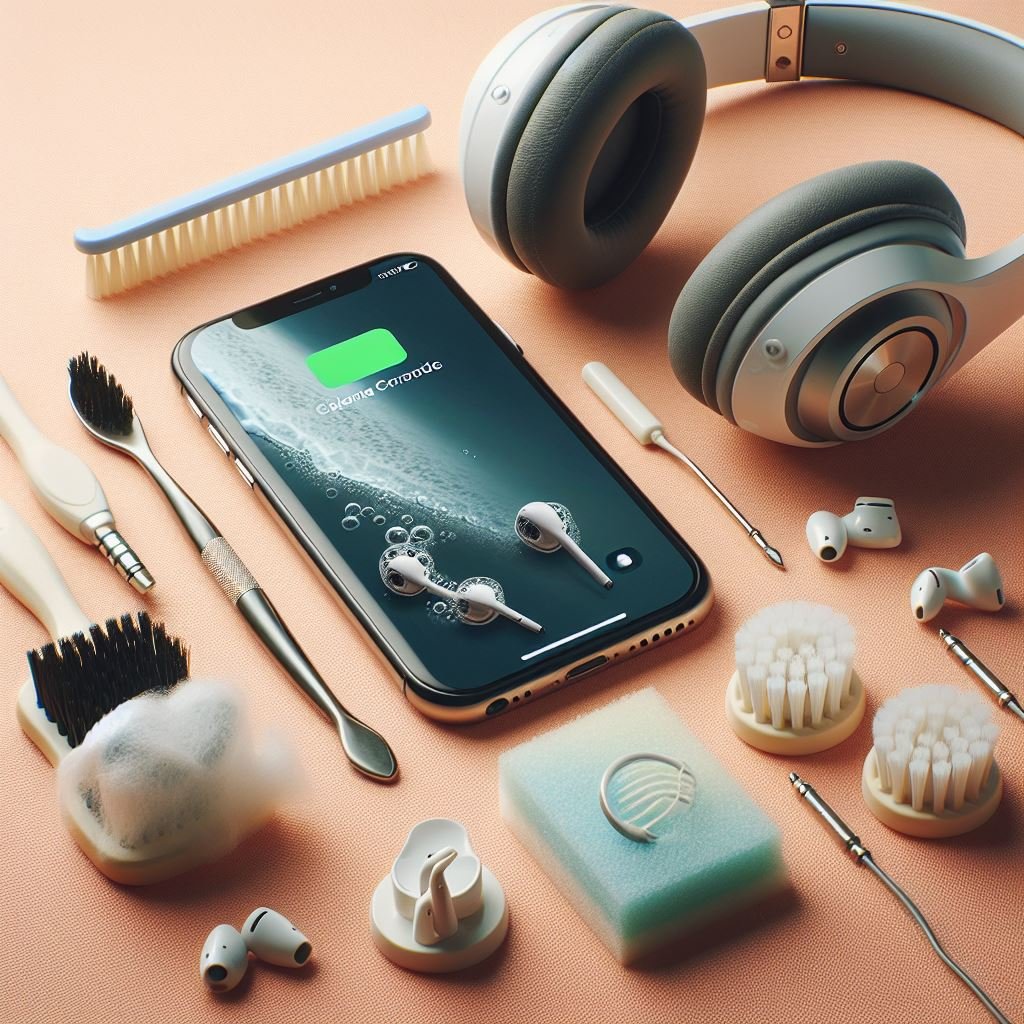
Cleaning your iPhone’s audio output systems doesn’t require an extensive toolkit. With some household items and gentle handling, you can effectively remove the accumulated dirt. Before you begin, ensure you have the following:
- A soft-bristled toothbrush
- Cotton swabs (Q-tips)
- Compressed air (with caution)
- Painters tape
- A soft head air blower
- Toothpicks (use with utmost care)
- Microfiber cloth
Step-by-Step Cleaning Guide
1. Brushing Away the Dust
A soft-bristled toothbrush is your first line of defense against the superficial dust lodged in the speaker and headphone grilles. Gently brushing across these areas can dislodge most of the easily removable debris. Remember to brush sideways and avoid pressing too hard to prevent pushing the dirt further in.
- Pro Tip: Turn off your iPhone before starting the cleaning process to avoid accidental damage.
2. Targeted Cleaning with Cotton Swabs
For stubborn dirt and lint, a cotton swab can offer a more targeted approach. Lightly dampen the tip with water (ensure it’s not dripping) and gently pass it over the speaker meshes. The slight moisture can help pick up dust without risking water damage.
- Warning: Be cautious not to leave cotton fibers behind, as they can further clog the speaker grilles.
3. The Precision of Compressed Air
Compressed air can be a powerful tool for ejecting dust from deeper recesses of your iPhone’s speakers. However, it’s essential to use this method sparingly and from a safe distance, as the force of the air can potentially push debris further into the device.
- Apple’s Caution: Refrain from using compressed air directly into the ports, as it might drive the dirt deeper and cause damage.
4. Gentle Extraction with Toothpicks
While not the first recommendation due to their potential for causing damage, toothpicks can be used with extreme caution to pick out lint and other obstructions from the speaker grilles. The key here is to use light, careful movements to avoid puncturing the delicate mesh or pushing debris deeper.
5. Air Blower for a Soft Touch
A soft head air blower offers a gentler alternative to compressed air, giving you more control over the airflow and direction. This method can be particularly useful after loosening the debris with a brush or cotton swab, blowing away the remnants without direct contact.
6. Final Touches with Microfiber Cloth
After employing the methods above, a final wipe with a microfiber cloth can help remove any lingering dust on the surface. This step also polishes the speaker area, leaving your iPhone looking clean and well-maintained.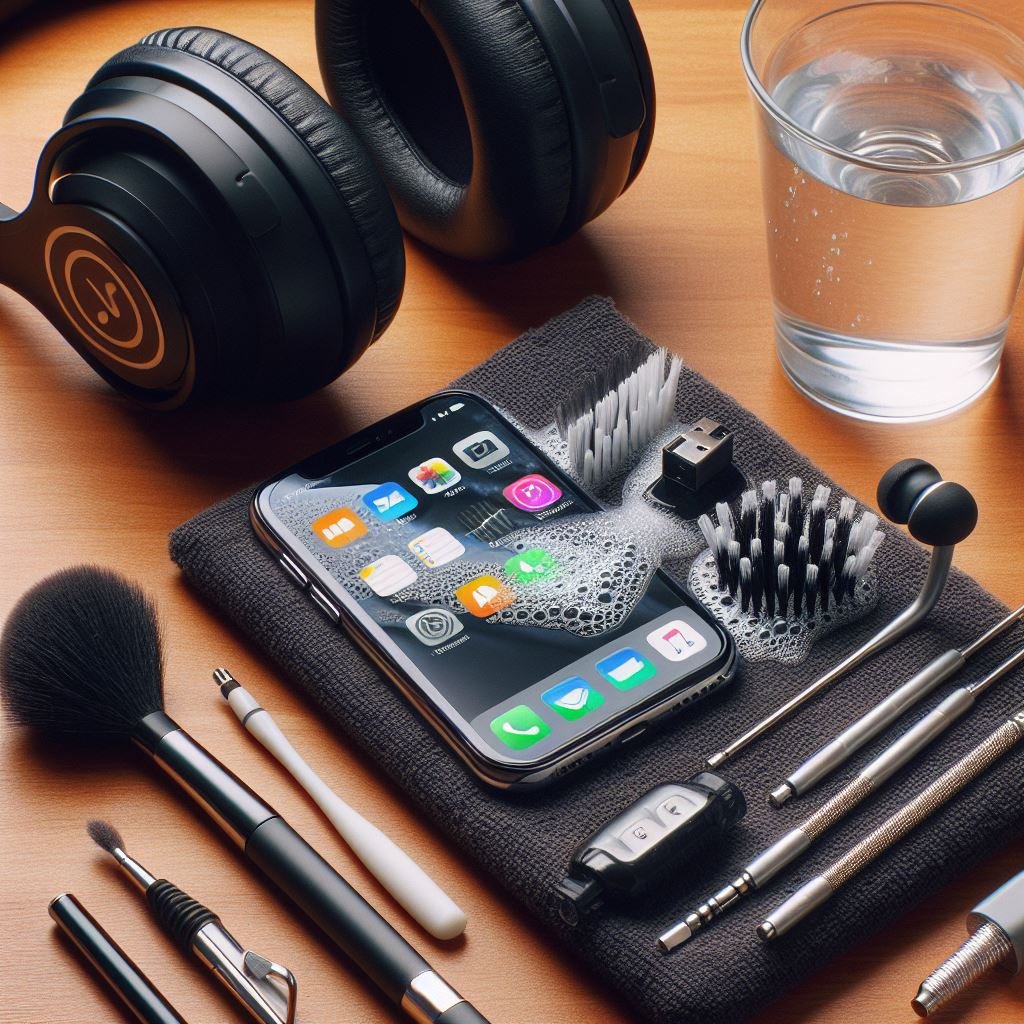
What to Avoid
- Sharp Objects: Needles, tweezers, and pins might seem like precise tools for the job but can easily puncture the speaker mesh.
- Liquids and Cleaning Solutions: Introducing moisture directly onto your iPhone’s speaker can lead to irreversible damage. If using moisture to clean, ensure it’s minimal and controlled.
- Over-reliance on Compressed Air: While effective, excessive or improperly directed compressed air can do more harm than good.
Maintaining Your iPhone’s Audio Clarity
Regular cleaning of your iPhone headphones and speakers is not just about maintaining sound quality; it’s a crucial practice to extend the lifespan of your device. By incorporating these cleaning steps into your routine device maintenance, you can ensure that your iPhone continues to provide the high-quality audio performance Apple devices are known for.
Conclusion
In our digital age, the iPhone stands as a pinnacle of smartphone technology, with its audio system playing a critical role in our daily engagement with media, calls, and alarms. By following this guide, you’re not just preserving the sound quality of your device but also safeguarding your investment in Apple’s ecosystem. Happy cleaning, and here’s to many more years of crystal-clear audio from your iPhone!